

Installation Guide
Architectural hardware installation — by Ash, Nottingham.
Pre-installation checklist
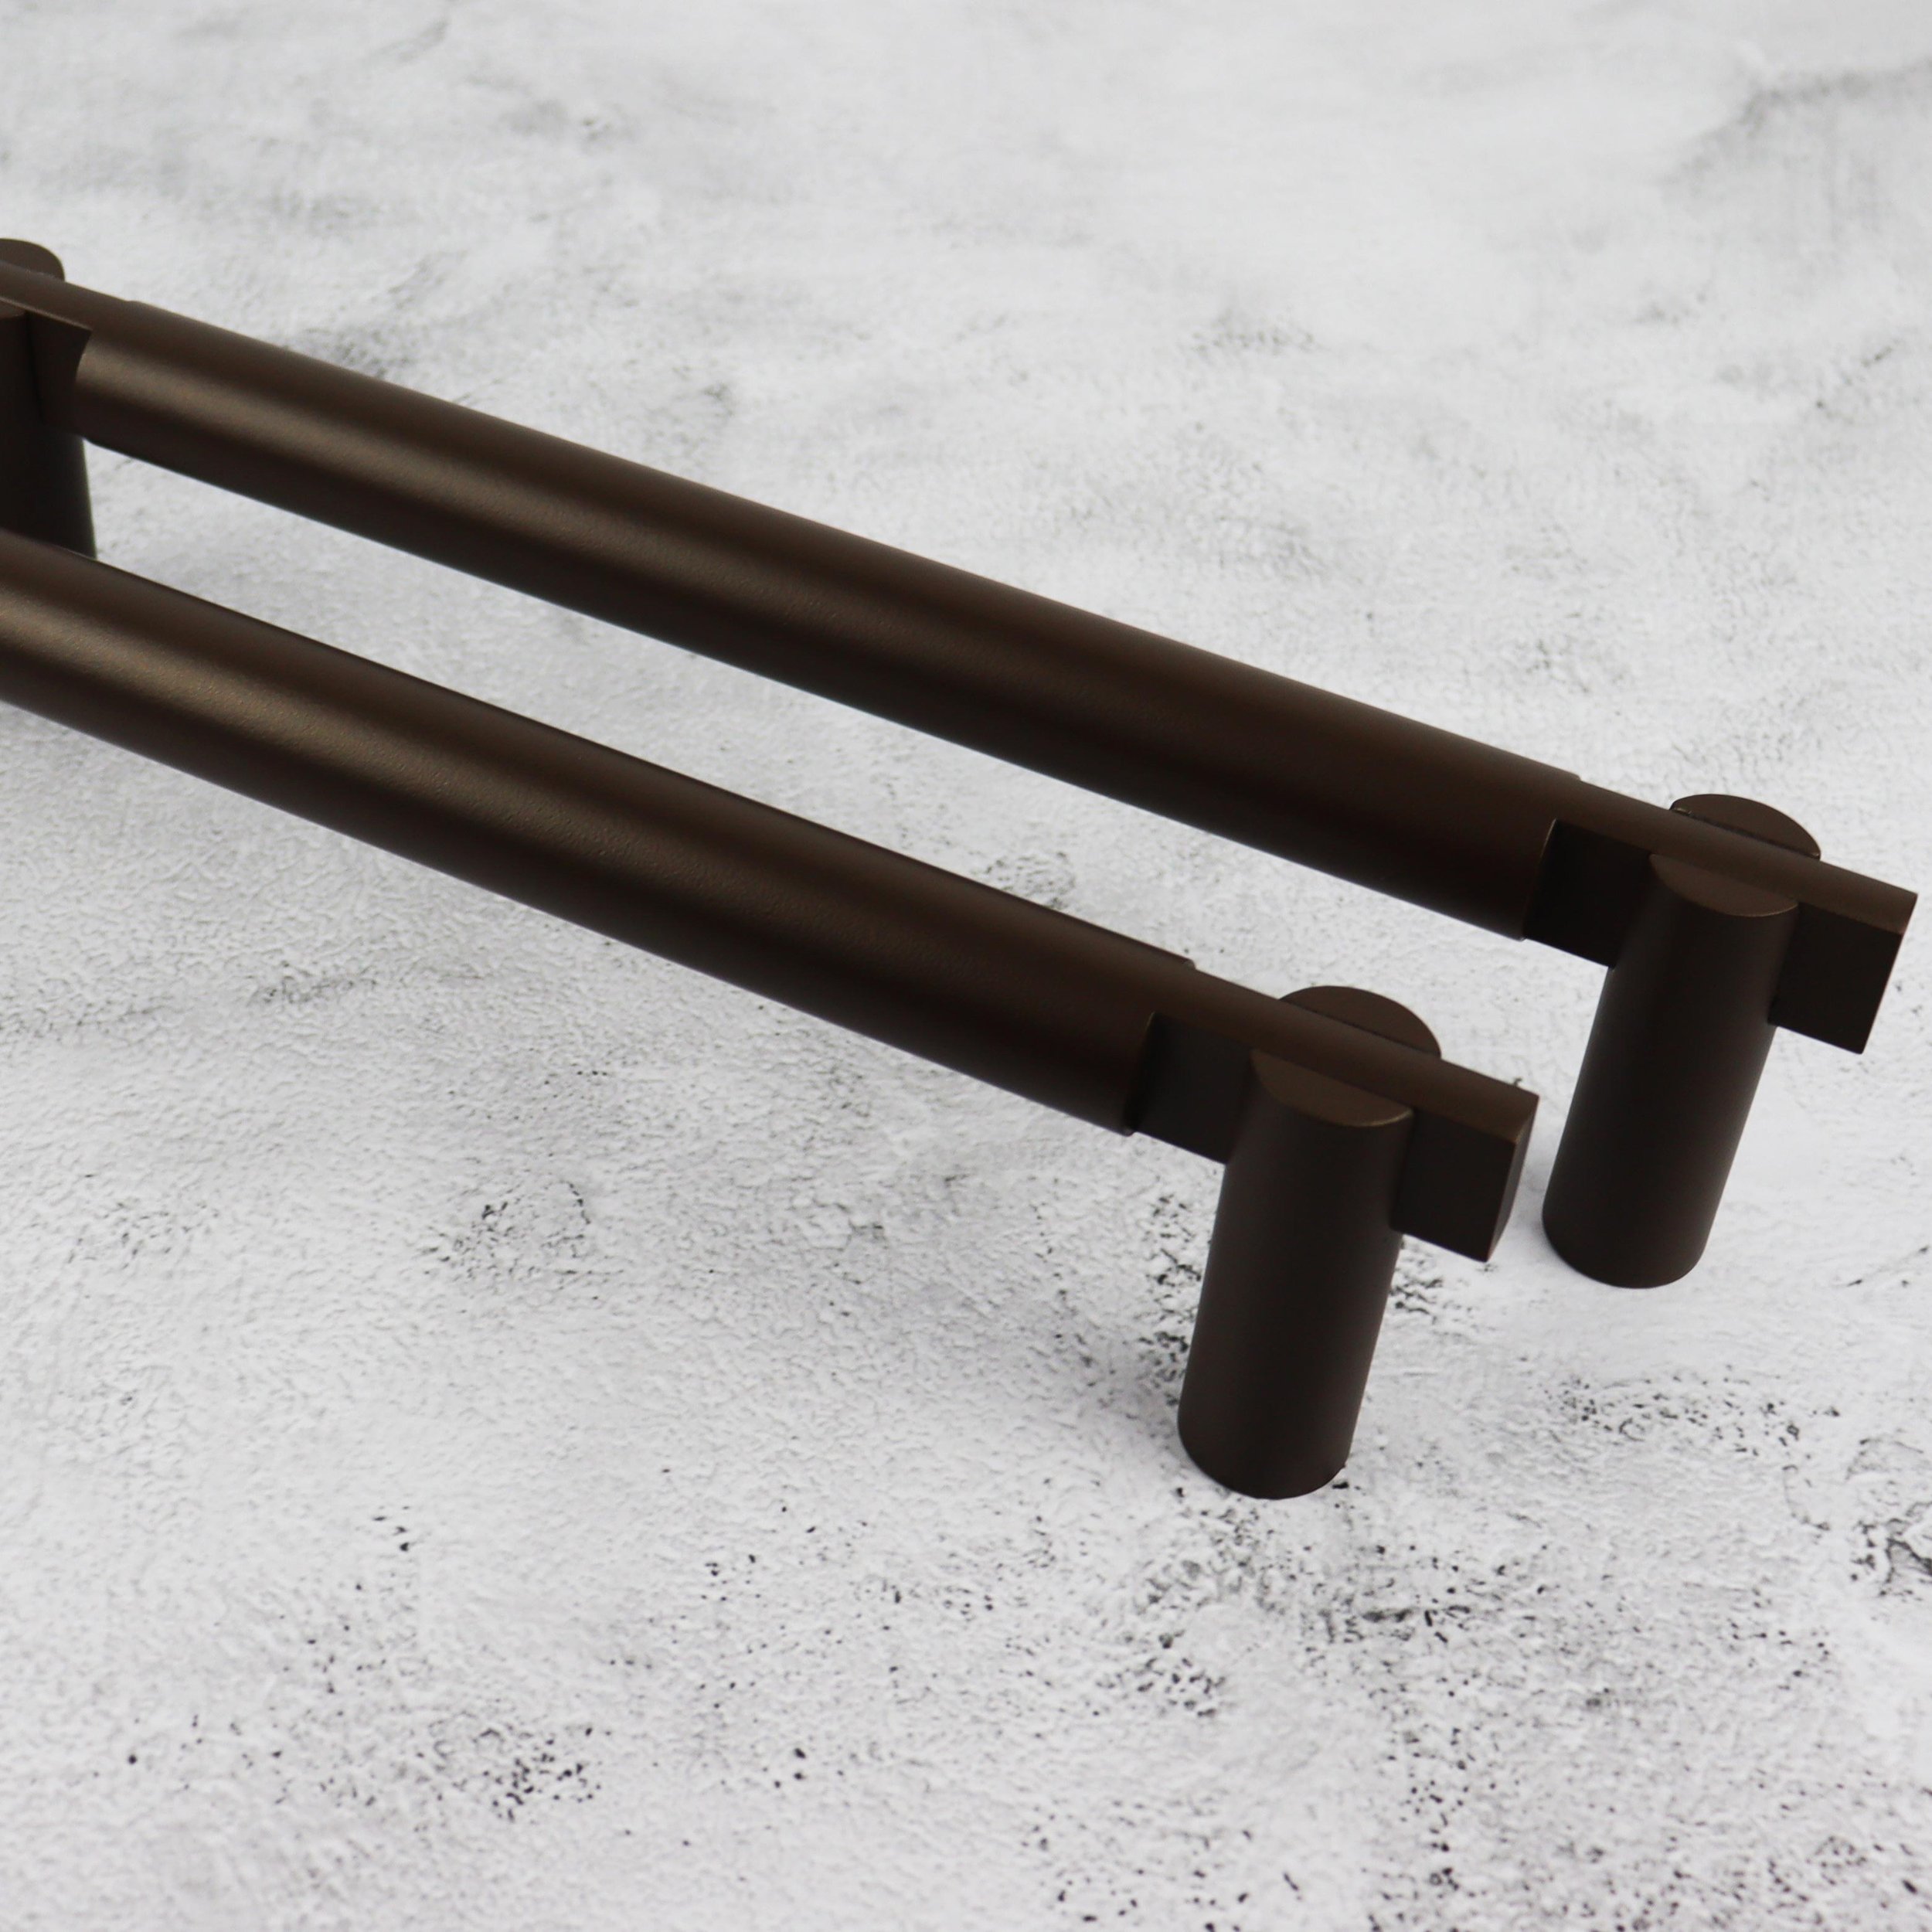
Handle all components with care. Fine architectural finishes are sensitive to scratches and abrasive environments. We highly recommend using high-quality, correctly sized manual tools rather than power drivers to prevent slipping and damaging the bespoke fixings or the door face.
Tools you'll need
- Standard measuring tape and a fine pencil
- Spirit level
- Low-tack painter's tape (to protect the door surface during marking)
- Manual screwdriver set (matched precisely to the provided slot/Phillips/Hex screws)
- Correctly sized drill bits (for pilot holes and spindle/bolt-through clearance)
The three-step process
Steve's published methodology — work through these in order, take your time on marking, and keep the door face protected throughout.
Preparation & Marking
- Determine Height Measure and mark the desired centreline height for the handle on the face of the door (standard is typically 1000mm from the finished floor level).
- Apply Protection Apply a strip of low-tack painter's tape over the area to protect the timber or paint finish while marking.
- Template Alignment Align the provided installation template (or the handle rose/plate itself) with your centreline. Mark the exact centres for the spindle bore and any auxiliary fixing holes.
Drilling & Boring
- Spindle Clearance Drill the central hole required for the spindle. Ensure the drill is held perfectly square to the door face.
- Bolt-Through Fixings (If Applicable) For maximum stability, use the provided bolt-through fixings. Drill the clearance holes cleanly through the door. 12.5mm or 8.5mm minimum.
- Pilot Holes For surface-mount wood screws, pre-drill small pilot holes to prevent the timber from splitting or binding the screws.
Mounting the Hardware
- Position Handles Slide the handles/roses onto the spindle on both sides of the door.
- Secure Fixings For bolt-through fixings, thread the male/female bolts through the door and tighten them evenly by hand. For surface screws, align the rose and drive the screws home using a manual screwdriver.
- Final Tightening If your handles feature a grub screw on the underside of the neck, ensure it is tightened firmly onto the spindle (or the spindle's machined groove/slot) to eliminate back-play.
Manual tools — never impact drivers. Glazing pads on every glass door.
To preserve premium metal and timber finishes, always use high-quality manual tools. Avoid using impact drivers on decorative components or bespoke fixings. If installing onto glass doors, always ensure the supplied nylon washers/glazing pads are positioned between the metal hardware and the glass face to prevent cracking.
Manual Tools Only
Use a manual screwdriver set matched precisely to the slot, Phillips or Hex screws supplied. A quality hex key set and a precisely matched bit set will outperform a cordless driver every time on architectural fittings — and never slip on the head.
No Impact Drivers
Avoid using impact drivers on decorative components or bespoke fixings. The torque pulses round off Allen heads, mark plated finishes, and over-compress nylon glazing pads. If you must power-drive a wood screw, set the clutch low and stop short.
Nylon Pads on Glass
On glass doors the supplied nylon washers or glazing pads must sit between every metal hardware face and the glass. Tighten progressively and evenly — uneven tension cracks glass long after the installer has left site.
1000mm AFFL Centreline
Standard handle centreline is typically 1000mm above finished floor level (AFFL). On the final grub-screw fastening, the screw must engage the spindle's machined slope — that's what mechanically pulls the handle tight and flush against the door face.
Fixing methods reference
Eight installation methods cover the full Ash range — F1 through F21. Click any method to expand the step-by-step. Pair this reference with your product's fixing code on the order acknowledgement.
- Thread the Spindle (Exterior Handle). Screw the threaded fixing spindle directly into the designated fixing points on the exterior handle. Glass Doors: slide nylon washers over the spindles now.
- Insert Through Door (Alignment). Push the threaded spindles cleanly through the pre-drilled holes in the door face.
- Align the Slopes (Interior Handle). Offer up the interior handle. Line up its internal grub screw holes so they match the machined slope on the fixing spindle.
- Lock the Grub Screw (Final Fastening). Place the interior handle over the spindles. Use a 3mm Allen key to tighten the M6 grub screw firmly. Note: When the grub screw engages the slope correctly, it mechanically pulls the handle tight and flush against the door face.
- Insert Screws. Push the countersunk machine screws through the holes from the opposite side of the door.
- Hand Thread. Align the handle on the door face and turn the screws by hand into the handle's threaded fixing points to avoid cross-threading.
- Tighten Home. Use an Allen key or screwdriver to tighten down the countersunk screws until the handle is firmly secured.
- Align & Insert. Push the fixing bolt through the door from the back and line it up with the fixing points on the handle.
- Glass Doors. Place a nylon washer between the handle/fixing block and the glass door face.
- Tension. Insert a 3mm Allen key into the tension hole of the decorative cap assembly and tighten the bolt thoroughly for a completely rigid connection.
- Access Drill Path. Create an access hole in the side of the glazing rebate to push the machine bolt through and align it with your hole centres.
- Secure Fix. Insert the bolt through the rebate hole into the handle's fixing point. Use a 13mm or 17mm spanner to tighten the fixing securely.
- Drill Centres. Drill a 9mm hole at the designated fixing centres on the door face.
- Install Rivnut. Insert the M6 rivnut into the drilled hole and compress firmly using a rivnut tool.
- Mount Block. Use the M6 machine screw to fasten the F11 fixing block securely.
- Secure Handle. Place the handle over the mounted F11 blocks. Use a 3mm Allen key to tighten the grub screws — the handle draws itself tightly against the door face.
- Mount Block. Use a heavy-duty timber wood screw to fasten the F11 fixing blocks directly to the door face.
- Secure Handle. Slide the handle over the F11 blocks and use a 3mm Allen key to tighten the grub screws until the handle pulls flush.
- Insert Spindle. Push the threaded spindle through the pre-drilled holes in the door.
- Position Handles. Place handles over the protruding threaded spindle on both sides.
- Glass Doors. Glazing pads between hardware and glass.
- Tighten Dome Nuts. Thread dome nuts onto spindle ends and crank evenly with a 13mm spanner.
- Insert Assembly. Feed the threaded spindle (with integrated decorative cap) through the holes from the back of the door.
- Offer Handle. Position the single-sided handle over the protruding spindle on the face.
- Lock Down. Use a 13mm spanner to tighten the dome nuts down securely.
- Component Prep. Slide the decorative cover cap loosely over the handle neck first.
- Assemble Disc. Use the M8 countersunk bolt to screw the fixing disc securely to the base of the handle.
- Mount to Door. Position the assembly and use timber screws to fasten directly to the door face.
- Conceal Fixings. Push the decorative cover cap down firmly over the fixing disc to cleanly hide all screws.
Care & maintenance
Cleaning. Wipe periodically with a soft, damp cloth. Do not use abrasive cleaners, solvent-based polishes, or chemical agents.
Waxed / living finishes. Finishes designed to age gracefully over time can be rubbed lightly with a high-quality beeswax to restore lustre and protect the underlying metal if desired.
Installation FAQ
Questions we hear most often from joiners and site managers fitting Ash hardware.
Standard centreline is typically 1000mm from finished floor level (AFFL). Measure and mark that centreline on the face of the door first, then align the installation template (or the handle rose/plate itself) with it and mark your spindle bore and any auxiliary fixing holes. For DDA-compliant projects refer to our door handle heights guide — site-specific deviations are worth clearing with the specifier before drilling.
No — and we strongly advise against impact drivers on bespoke fixings. Use high-quality manual tools: a measuring tape, fine pencil, spirit level, low-tack painter's tape, a manual screwdriver set matched precisely to the supplied slot/Phillips/Hex screws, and correctly sized drill bits for pilot holes and bolt-through clearance. A quality hex key set will pay for itself in finishes you don't have to replace.
The nylon washers and glazing pads we supply with the hardware. They must be positioned between the metal hardware and the glass face on every bolt-through fixing to prevent cracking. On Method 1 (back-to-back grub screw), slide them over the spindles before pushing through. On Method 3 and Method 6, place a nylon washer between the handle/fixing block and the glass face. Tighten progressively and evenly — uneven torque cracks glass.
Use a 3mm Allen key on the M6 grub screw. The key step is alignment: line up the interior handle's grub screw hole so it matches the machined slope on the fixing spindle. When the grub screw engages the slope correctly, it mechanically pulls the handle tight and flush against the door face — that's the whole point of the design. If the handle still has back-play, your grub screw isn't seated on the slope.
Yes — pre-drill small pilot holes first to prevent the timber from splitting or binding the screws, then drive the screws home with a manual screwdriver. For the F11 block system on timber, use a heavy-duty timber wood screw to fasten the F11 fixing blocks directly to the door face, then slide the handle over the blocks and tighten the grub screws with a 3mm Allen key until the handle pulls flush.
Related guides & ranges
Door handle heights
The 1000mm AFFL standard, DDA considerations and centreline reference for specifiers.
Read the guideDoor handle fixings
The full F1–F21 fixings reference with diagrams of every spindle, bolt and block.
View fixingsGlass door handles
Back-to-back specifications and glazing pad detail for frameless glass installations.
Glass rangePull door handles
Straight, cranked, offset, plate-mounted, curved and timber pulls — the full range.
Browse pullsPush & kick plates
Surface-fixed plate installation, screw centres and finish-matched fasteners.
Plates rangeTalk to Ash
Site queries, replacement fixings, on-site support and bespoke installation advice.
Contact usNeed a hand on site?
Send us the project, the fixing code and a photo of the door build-up. Ash will come back with the exact method, the right drill sizes and the supporting kit list.